Sunday, May 20, 2018

Lawn Fawnatics Sketch Challenge

Happy Sunday everyone!


I decided to play along with the Lawn Fawnatics sketch challenge.


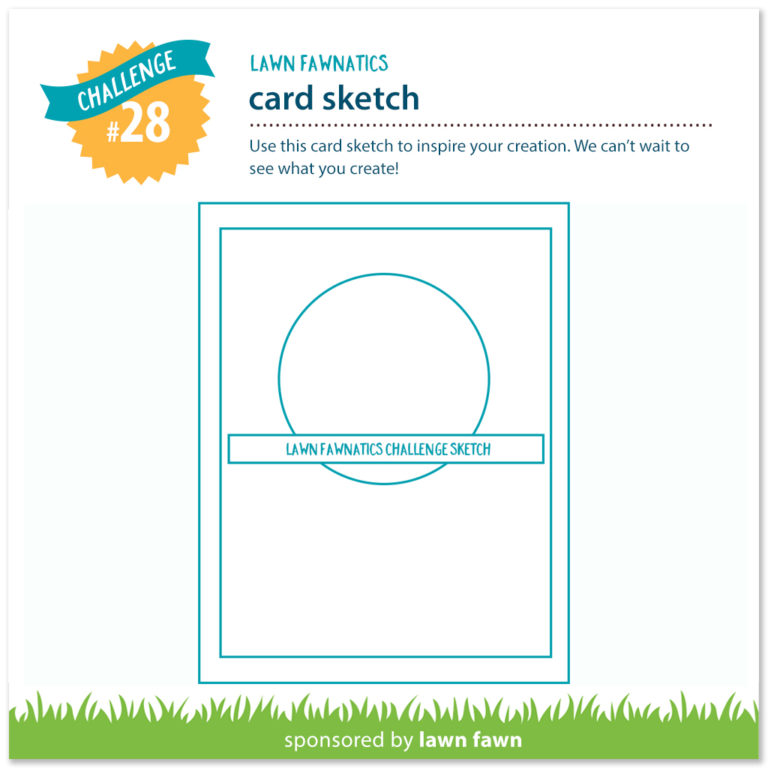
I love the clean and simple design.


Here's my card. I decided to make a fun little scene featuring the unicorn from Critters Ever After. I first cut out my circle and blended Peacock Feathers and Wilted Violet Distress Oxide to make a sky background. I die cut a few layers using the Puffy Cloud Border dies.

Next up, I stamped, coloured and fussy cut the unicorn and stars. I added plenty of shimmer to all of these, which you can see a bit in my close-up shot. I stamped one of the greetings on this cute little die cut banner made out of Harvest Gold. I framed the circle scene on a piece of Summer Sunshine. The last step was placing that all on a piece of Hawaiian Shores card front and then onto a white card base. It's super cute! Love that dainty unicorn.


Saturday, May 19, 2018

Altenew Academy Celebration Stencil Techniques

Hello everyone!

So I received exciting news last week- I was approved to join the Altenew Educator Certification Program. I have been stamping a long time, but I love learning new tips, tricks, and techniques.

I have a few projects to share from some of the recent classes I have taken as part of the certification.

Also for one more day, you're in luck, the classes at Altenew Academy are available for buy 2, get 1 free.


My next card was inspired after I took the Celebration: Stencil Techniques class.


This class was so fun! I have quite a few stencils, but i also liked how this class had you looking at ways to make your own stencils. I decided to make my own stencil using the Striped Leaf Cover Die. I carefully taped that to a piece of cardstock. Next I got out some embossing paste and mixed up a few custom colours. I applied the light colour first on the the bottom. I applied the darker colour of paste on the top, then I went back in with the lighter colour and mixed them a bit in the middle.

I pasted the background on a white card base. The final step was embossing a greeting from the Painted Greetings onto some coordinating green cardstock and popping that up on top.


Thanks for coming by! Be sure to check out Altenew Academy for lots of class options!

Altenew Academy: For the Guys

Hi everyone!

So I received exciting news last week- I was approved to join the Altenew Educator Certification Program. I have been stamping a long time, but I love learning new tips, tricks, and techniques.

I have a few projects to share from some of the recent classes I have taken as part of the certification.

Also for one more day, you're in luck, the classes at Altenew Academy are available for buy 2, get 1 free.


My first card is from the class For the Guys. This is a great class. I don't know about you, but I sometimes struggle with masculine cards. This class has so many great ideas and really helps you re-look at your stash and see how you can make something work for a masculine card.

For example, this stamp set, Simple Flowers- at first glance one would think this set would be best for feminine cards- it's a bold graphic floral set. However, when you break down the images, they are all mostly geometric.The font is also a nice clean and bold one, which works great for masculine cards.

I chose a masculine colour palette- Mountain Mist, Volcano Lake, Sand Dunes, Espresso. Next, I chose a few of the circle images that don't necessarily scream "flower". I started stamping with the largest image in a random-ish pattern and then worked my way down in image size. I also made sure to overlap some of the images for added interest.

I stamped the sentiment on some vellum and used some clear foam tape to pop it up. To add a bit more "pop" to the sentiment I added a very thin strip of brown cardstock. I really love how it turned out!