Sunday, September 30, 2018

Fall to Layout #91 Take Two


Happy Sunday! I hope you're ready for another sketch!


Dimensions:
Card Base: 4.25 x 5.5
Patterned Paper Layer: 3.75 x 5
Layer: 3-7/8 x 5-1/8
Scallops: 4.25 x 1.25

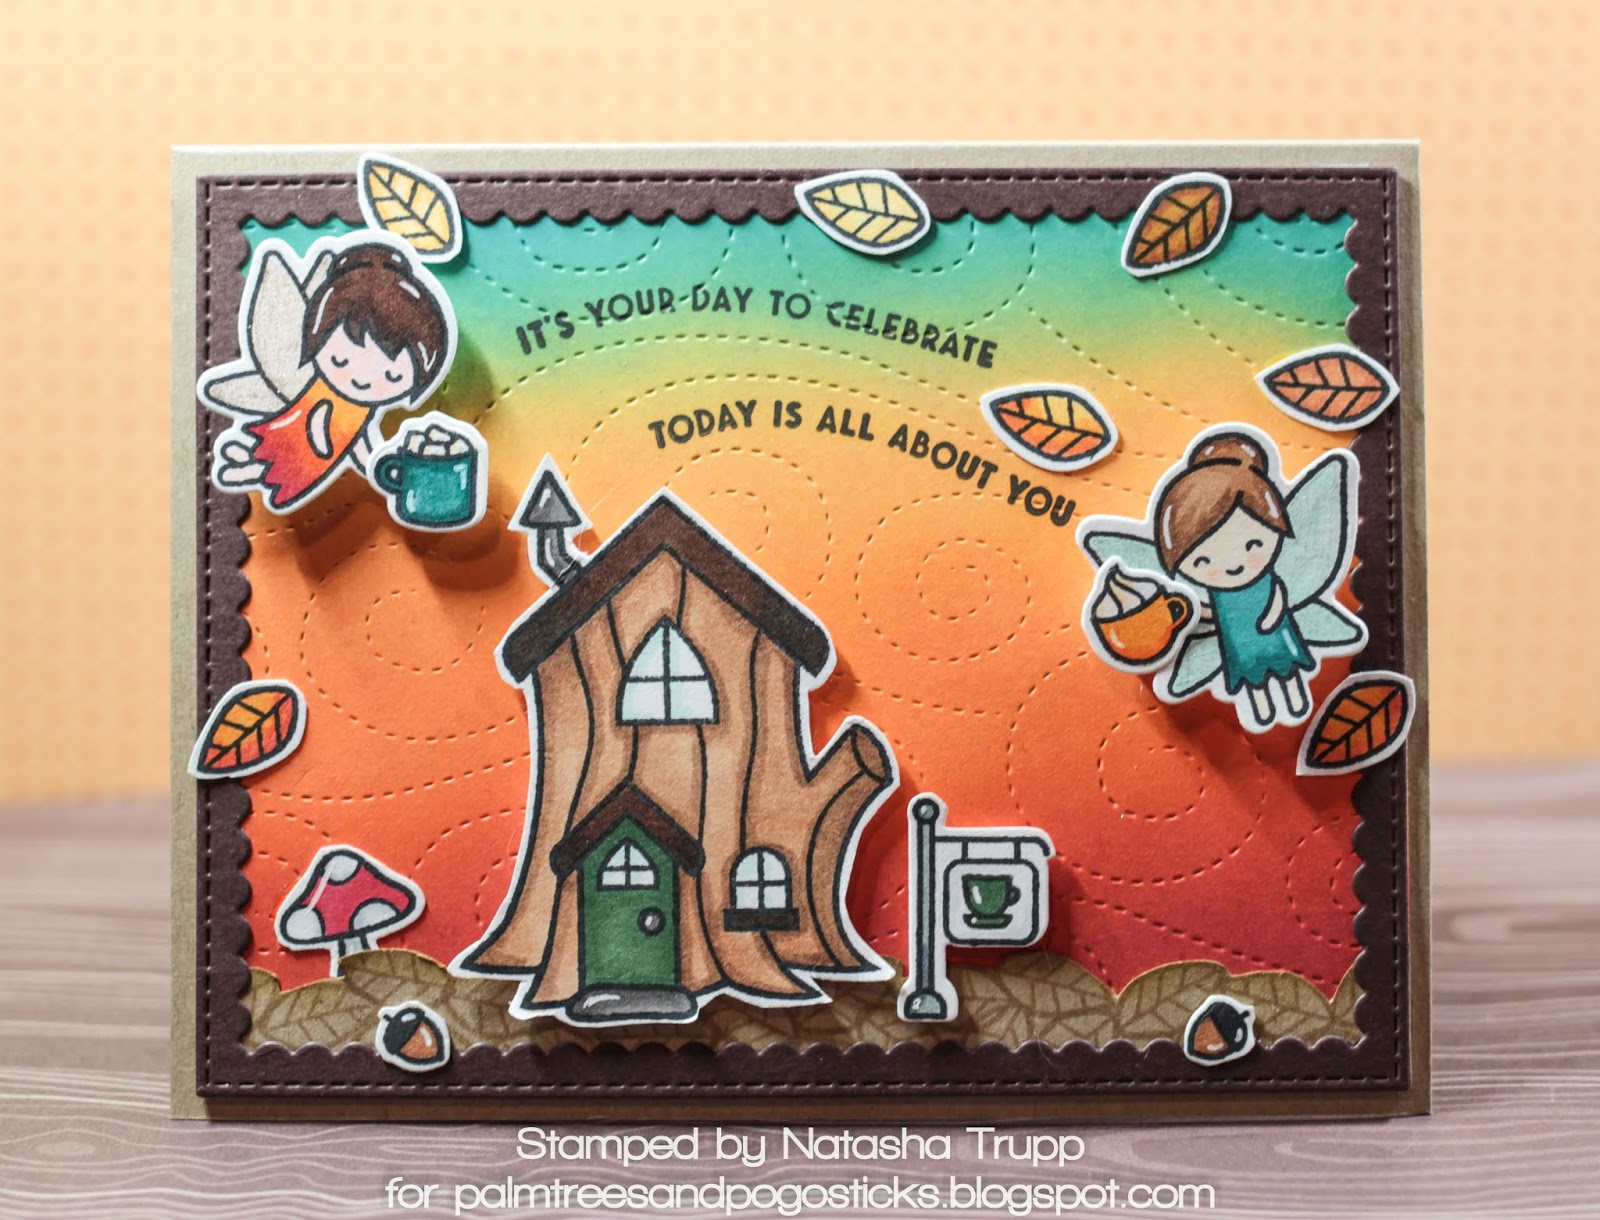
I had lots of fun making this card! I actually coloured the little mug character a few weeks back, and it was just sitting on my desk waiting for the perfect card. I took a look at this sketch and thought, why not use the mug as the flower element. In case you didn't know, there's a pair of little ovals in this stamp set. I had no idea what they were, since they didn't seem like the usual Lawn Fawn cutesy eyes. They are meant to be rosy cheeks (as I have used here). Just thought I'd share that in case you had no idea like me!

Just a reminder- when it comes to the sketches- they are just a starting point. Never feel obligated to use ALL the elements. Just because I use a flower on the sketch doesn't mean you have to use a flower on your card. It's just meant to designate an image- the choice is yours as to what kind!

Back to the card- the rest came together, once I was settled on using the sketch. The patterned paper comes from the Really Rainbow Christmas Petite Paper Pack.I paired that with some Pure Poppy, Basic Black, and New Leaf cardstock. I decided to add a bit of black and white baker's twine, since I wanted to bring in another black element to tie in with the sentiment, the frame layer, and the ink of the image itself.


Supplies (affiliate links used when possible):
Ink: Tuxedo Black, Versafine Black Onyx


If you play along, please leave a link:

Sunday, September 23, 2018

Fall to Layout #90 Take Two


Happy Sunday! 
So.... last weekend it was 25C with a humidex of 32C, and today it's super dreary and we had a mix of snow and rain last night... Oh September! You just never know what you're going to get!

Anyway, keeping with the theme of snow... Here's a card featuring some new to me snowflake dies.


Dimensions:
Card Base: 5.5 x 4.25
Next layer: 5.25 x 4

I got some glitter paper back during Sale-A-Bration and hadn't used it yet. I thought the snowflakes would look so pretty all glittered up! I omitted the ribbon since I had all that glitter and I decided to center the sentiment.


Supplies:
Stamps: Holiday Helpers (greeting only)
Dies: Stitched Snowflakes, Mini Snowflakes, Outside in Stitched Rectangle
Paper: Glitter paper, Smoky Slate, Smokey Shadow

If you play along, please leave a link!


Sunday, September 16, 2018

Mood Board Challenge


Hello,

Here is my card for the latest Lawn Fawnatics challenge. The challenge this time was a mood board. There were luscious fall colours and themes. I decided to make a fun little fairy cafe scene. I'm just going to list all the sets I used first, since there ended up being a lot!

  • Fairies: Fairy Friends
  • House: Frosty Fairy Friends
  • Sign: Village Shops
  • Leaves: Critters from the Past
  • Cups: Holiday Helpers
  • Acorn: Forest Feast
  • Mushroom: Critters in the Forest
  • Sentiments: Sentiment Staples: Birthday
  • Dies: Stitched Windy Backdrop (Lawn Fawn), Stitched Rectangle Scallop Frames (MFT)
Alright, now that that's out of the way- here's the card! This one took a bit longer than normal. I started to get it together in stages.

First up, I decided on all my images. I coloured them in with various Copics and other alcohol markers. Next, was the background. I wanted something that felt like "fall", but still had a sky vibe. Thinking back to the mood board, I remembered one image in particular that had a softer aqua background with red/orange leaves. So that inspired me.

I pulled out 5 distress oxide inks- Wild Honey, Carved Pumpkin, Candied Apples, Peacock Feathers, Vintage Photo and blended them. Once I started to put the scene together, I knew I needed something to ground it all. I used that little leaf stamp from the Critters from the Past set and stamped them almost overlapping to mimic a leaf covered ground. I cut along that to make my ground layer. Once I had everything staged on the background, I decided it felt too plain. So I pulled out the Stitched Windy Backdrop die and used that to jazz it up. I have to say, that was a great decision- the swirly wind goes great with a fall themed card.

I wanted my scene to feel like a little window into their fall fairy life, so I completed it with the scalloped frame.

I was going to use a lawn fawn sentiment, but I wanted something birthday and small, so I decided on these Papertrey Ink sentiments instead. I curved them to match the swirls in the background.


Here's another close-up. You can really see the shimmer of the fairy wings, and the fun of the blended background with the swirly stitches.


Fall to Layout #89 Take Two

Happy Sunday!


Here's this week's sketch. I have been continuing with building up my batch of Christmas cards. I decided to put together a few "cookies" for today's card. I love how fun these dies look when assembled! 

Measurements are whatever you would like. Essentially, the main layer is just a proportionate step down from the card front you use. I went with 4.25 x 3.


I cut out the main cookies from Kraft cardstock and die cut the associated elements from white and coloured card stock. The only stamped element was on the candy cane- everything else is die cut.

Supplies (affiliate links used when available):
Stamps: Sweet Holiday Treats
Ink: Berry Sorbet
Dies: Sweet Holiday Treats, Ways to Say: Merry Christmas, Outside In Stitched Rectangles
Paper: Aqua Mist, Harvest Gold, Vintage Jadeite, Kraft, New Leaf, Berry Sorbet, Stamper's Select

If you play along, please leave a link:

Sunday, September 09, 2018

Fall to Layout #88 Take Two


Happy Sunday!
What can I say, I have been getting into Christmas cards early this year! 


This sketch is a good one for using a strip of patterned paper, or as I've done here, stamp your own! It was a rainy morning and I apparently felt like doing some fussy colouring. I stamped several images from Holiday Helpers and Christmas Dreams and then got to colouring!


I used various markers here, but keeping a fairly traditional Christmas colour palette. Once that was done, I chose some Brilliant Blue cardstock (anyone remember that awesome Basic Bright from Stampin' Up WAY back when...) and embossed a greeting from Winter Scripty Sentiments. The final steps were adding some red stitched grosgrain ribbon and I also die-cut one of the little snowflakes and popped that up.

If you play along, please leave a link!

Sunday, September 02, 2018

Fall to Layout #87- Take Two


Happy Sunday!
Here's this week's sketch.


Dimensions:
Card Base: 4-1/4 x 5-1/2
Vertical Strip: 1-3/4 x 4-1/4
Circle: approximately 2 inches

Here's my card. I decided to make a happy little Halloween card! I just got the Pick of the Patch set by Lawn Fawn, and seriously, how cute are those pumpkins! I stamped my paper strip with the smallest pumpkin and one of the faces. I also used the small solid star to fill in some of the empty space.

Next, I stamped and cut the two larger pumpkins and cut those with copics. I placed those on a dashed white circle and adhered that to a dark grey scalloped circle panel.

Lastly, I remembered that I had some fun Halloween prints in my paper stash. Anyone recognize this awesome set from Stampin' Up! in 2006 ?!? I looked through all the prints from this paper pack, and seriously, Stampin' Up knocked it out of the park. The designs are so classic that they are still very easy to use today.


If you play along, please leave a link: